

Zamia ZZ Black Plant - Zamioculcaszamiifolia 'Raven'
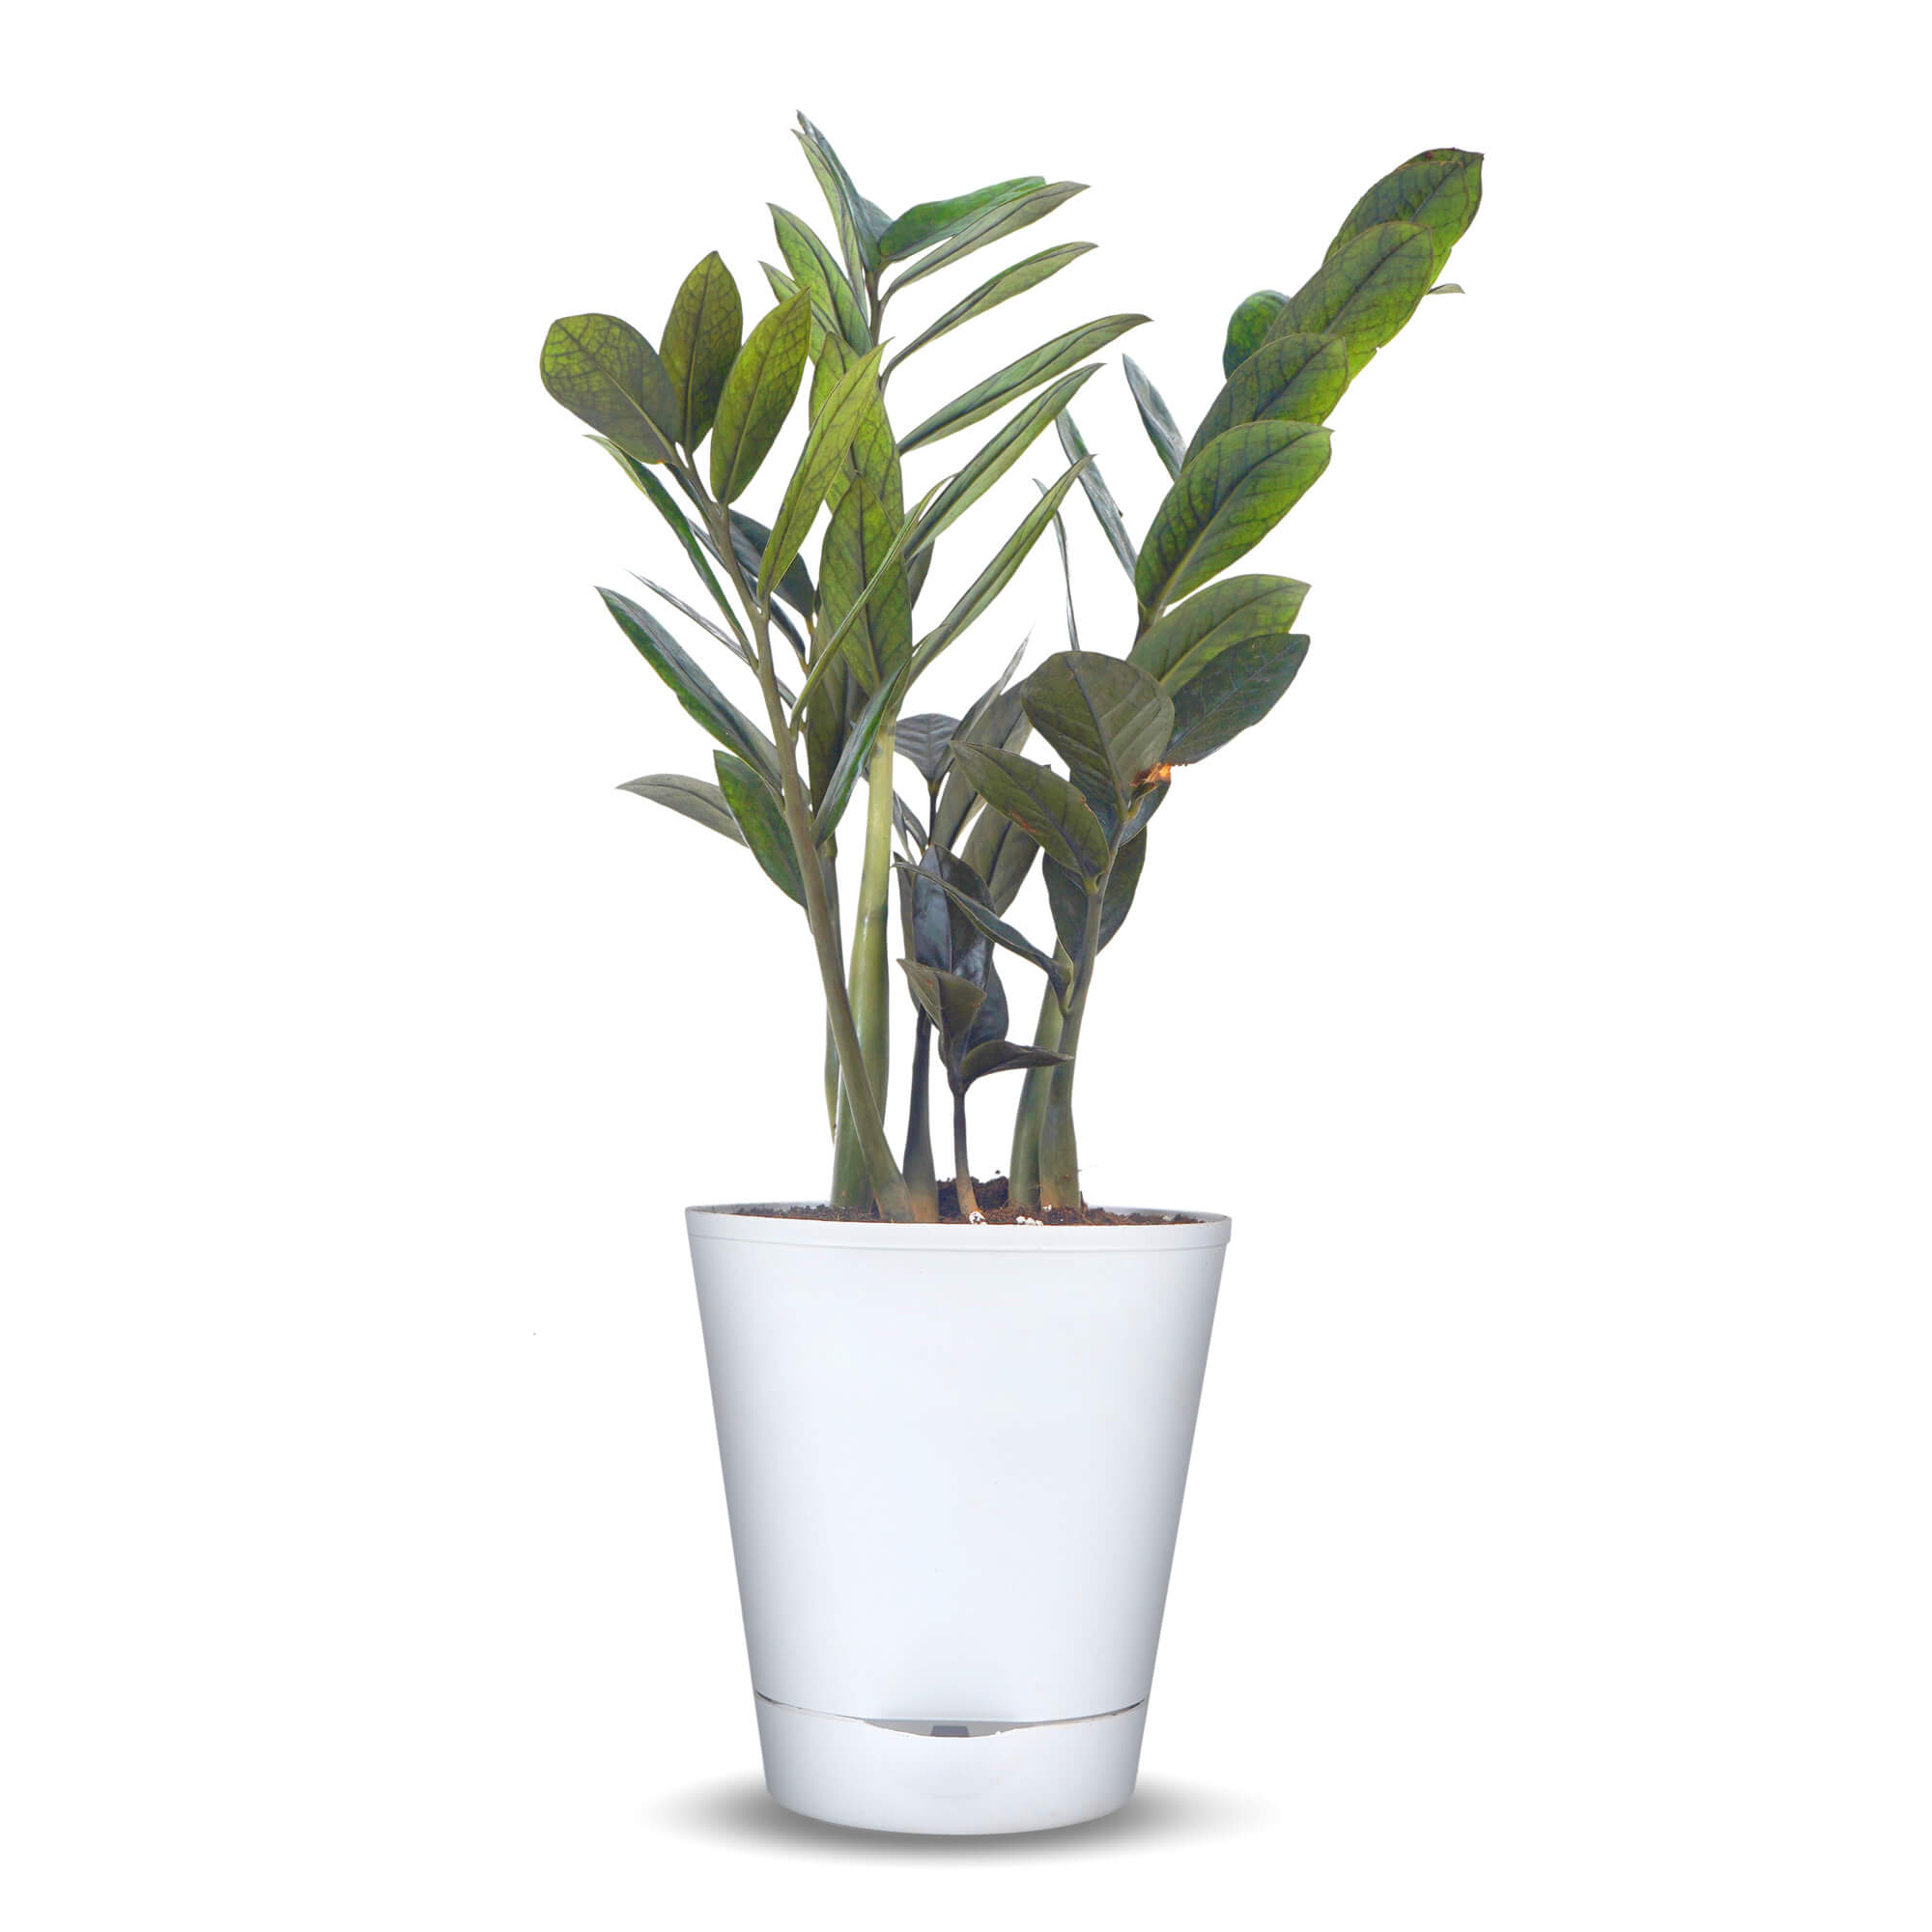
Raven ZZ plant really lives up to its cool name with its purple-black shiny leaves.As Ravenproduces new growth, the leaves emerge an electric lime-green color. The effect is mesmerizingwhich makes them the trendiest& popular houseplants.Looking for a black plant to add to your collection? Learn all about raven ZZ plant care and how to help this stunning black variety of ZZ plant thrive, including propagation tips.


Light
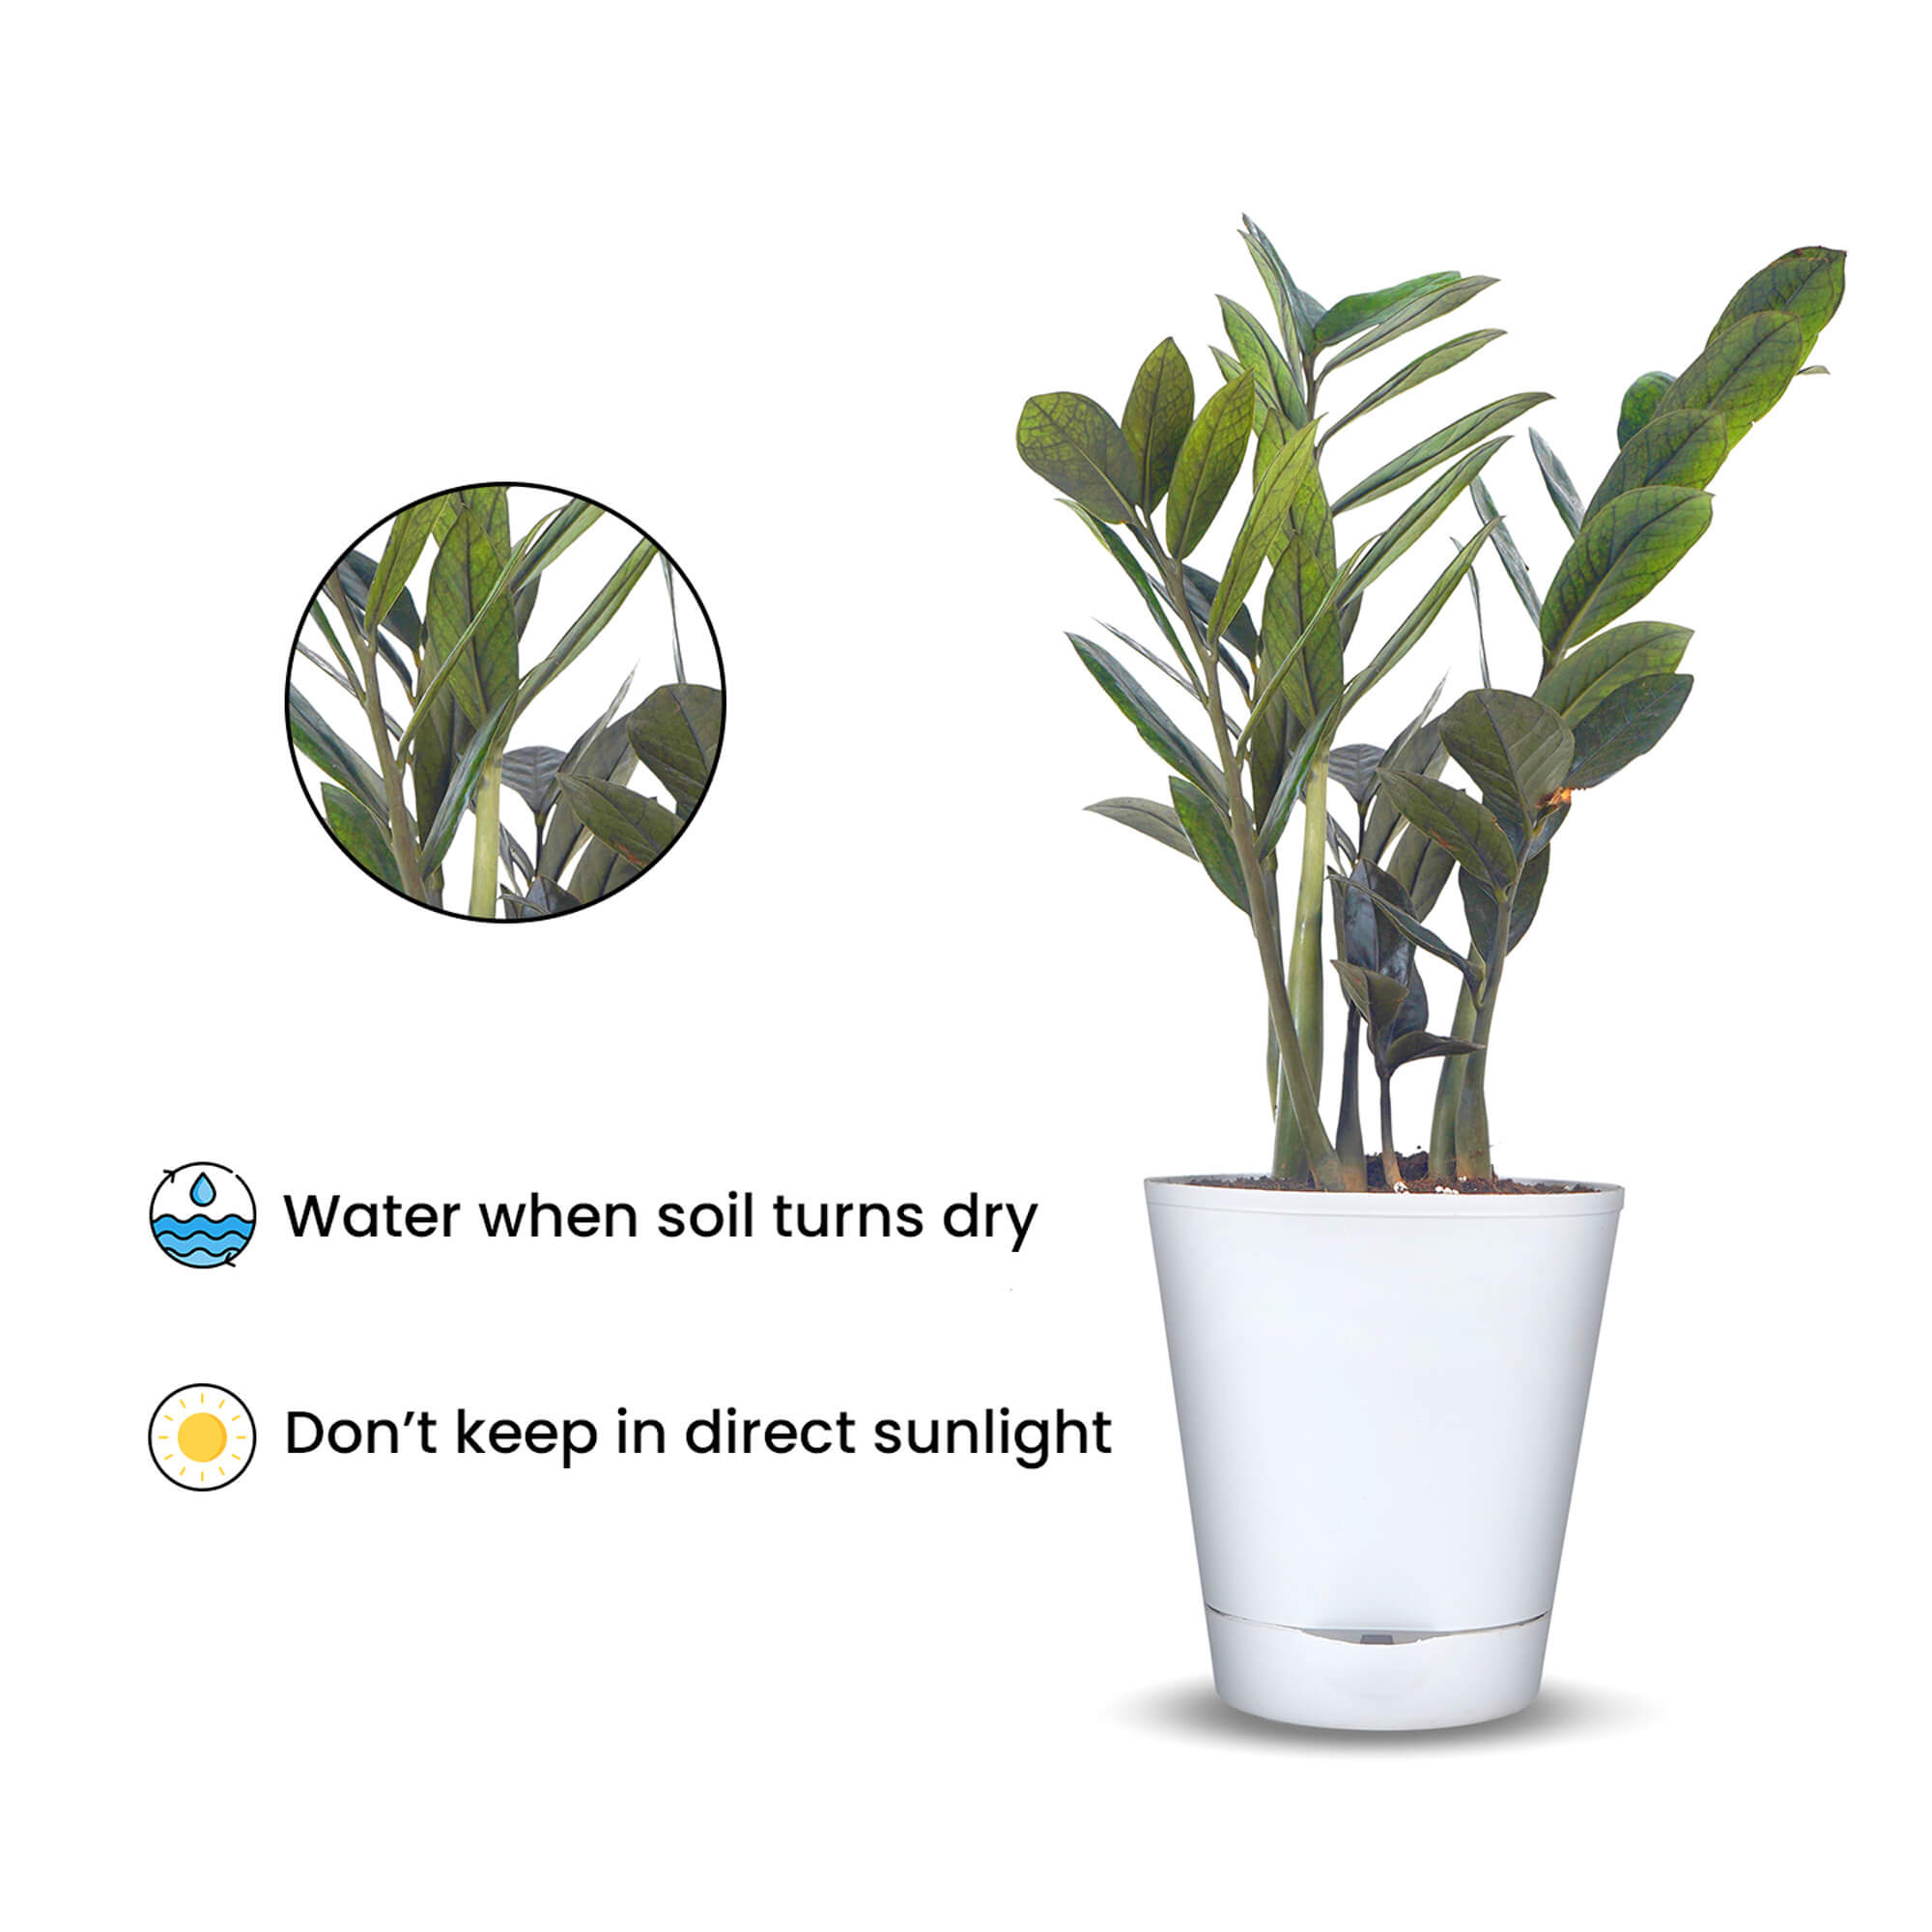
The Raven ZZ plant can even survive very low light conditions which makes it awesome to place them in any area of your home i.e bathrooms, living rooms, bedrooms and even dark basements.Remember that even plants that do well in very low light will thank you for giving them a good bit of bright, indirect light. This is a hardy plant, but the stems might become a bit leggy with too little light.A sign of a leggy plant is increased space between the leaves on the stem. It’s literally stretching for light!


Watering
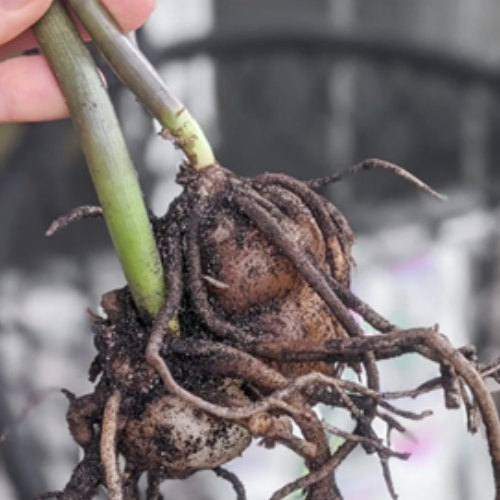
Raven ZZ plants can survive long periods of time without water. Their neat little tuberous rhizome water storage system ensures that they have plenty of water during that time. Once you’ve watered, it’s important to allow the soil to dry out completely before watering again to prevent overwatering or root rot.During its growing season in the summer, water the Raven ZZ only once every two weeks.When it’s dormant in the winter, you only need to water it once a month max, maybe even once every 6 weeks.


Soil & Fertilization
ZZ plant luckily doesn’t need any special type of potting soil: any well-drained potting soil will do. As for feeding,ZZ plants are happy without fertilizer, but if you would like, you can apply a balanced liquid houseplant fertilizer (20-20-20) once a month when watering.


Repotting ZZ Plant
ZZs have a reputation as slow growers, so they don’t need to be replanted very often. Transplanting up a pot-size once every two years is usually all these plants need from us.The larger pot will give the ZZ room to spread its roots and rhizomes out, which will in turn allow it to continue growing taller and wider and eventually become a large plant (ZZs can reach up to 2-3’ in height). To do so, gently remove your ZZ from its old container. The best way to do this is not yanking or pulling but rather flipping the entire plant and sliding it out once it is upside down. Discard the old soil and fill your new container about ⅓ of the way full with fresh soil. Place your plant in and put soil around the edges until your new container is filled.
Propagating ZZ Plant
- Pruning: Remove dead or browning leaves as they appear. If a plant is becoming too leggy and sparse, remove the plantlet shoots to redirect energy to the main plant.
- No blooms? Spider plants like to be slightly root-bound and will flower and produce plantlets best when grown in a smallish container. Also, take it easy on the fertilizer — too much will produce a lot of leaves, but no flowers and plantlets.
- Brown leaf tips seen on this plant may be a symptom of hot, dry air or dry soil. Or may be caused by fluoride, often present in tap water. Use distilled water, rainwater, or allow tap water to sit overnight so that the chemicals in the water will dissipate. Snip off brown leaf tips with scissors, if you want, to keep the plant looking neat.
- Something bugging your plant? Watch for scale insects. These tiny pests look like brown discs that attach themselves to the leaves and stems. They can be scraped off the leaves. Isolate an infested houseplant to prevent them from moving on to your other indoor plants.


Plant Care Tips
- ZZ plants have very few insect or disease problems. The most common problem is brown scale insects on their foliage. These pests can be removed with rubbing alcohol and cotton balls or swabs.
- Pruning -Cut away leaflets that are turning yellow near the base of a stem. Once a stem has grown much longer than all other stems you can remove that stem or cut it to size at the tip. The problem with cutting it to size at the tip is it can look quite odd, so removing it completely might be the best option.
- Lower leaves turning yellow – A small number of lower leaves turning yellow and falling is quite normal. If many leaves are turning yellow – check that you’re not overwatering.
- Leaf tips turning brown – The cause is likely to be dry air and low humidity. Misting the leaves can help improve humidity.
- Leaves turning brown – Overwatering is the most common cause here, especially if the leaflet feels a bit damp and not dry.
Our Favourable Aspects
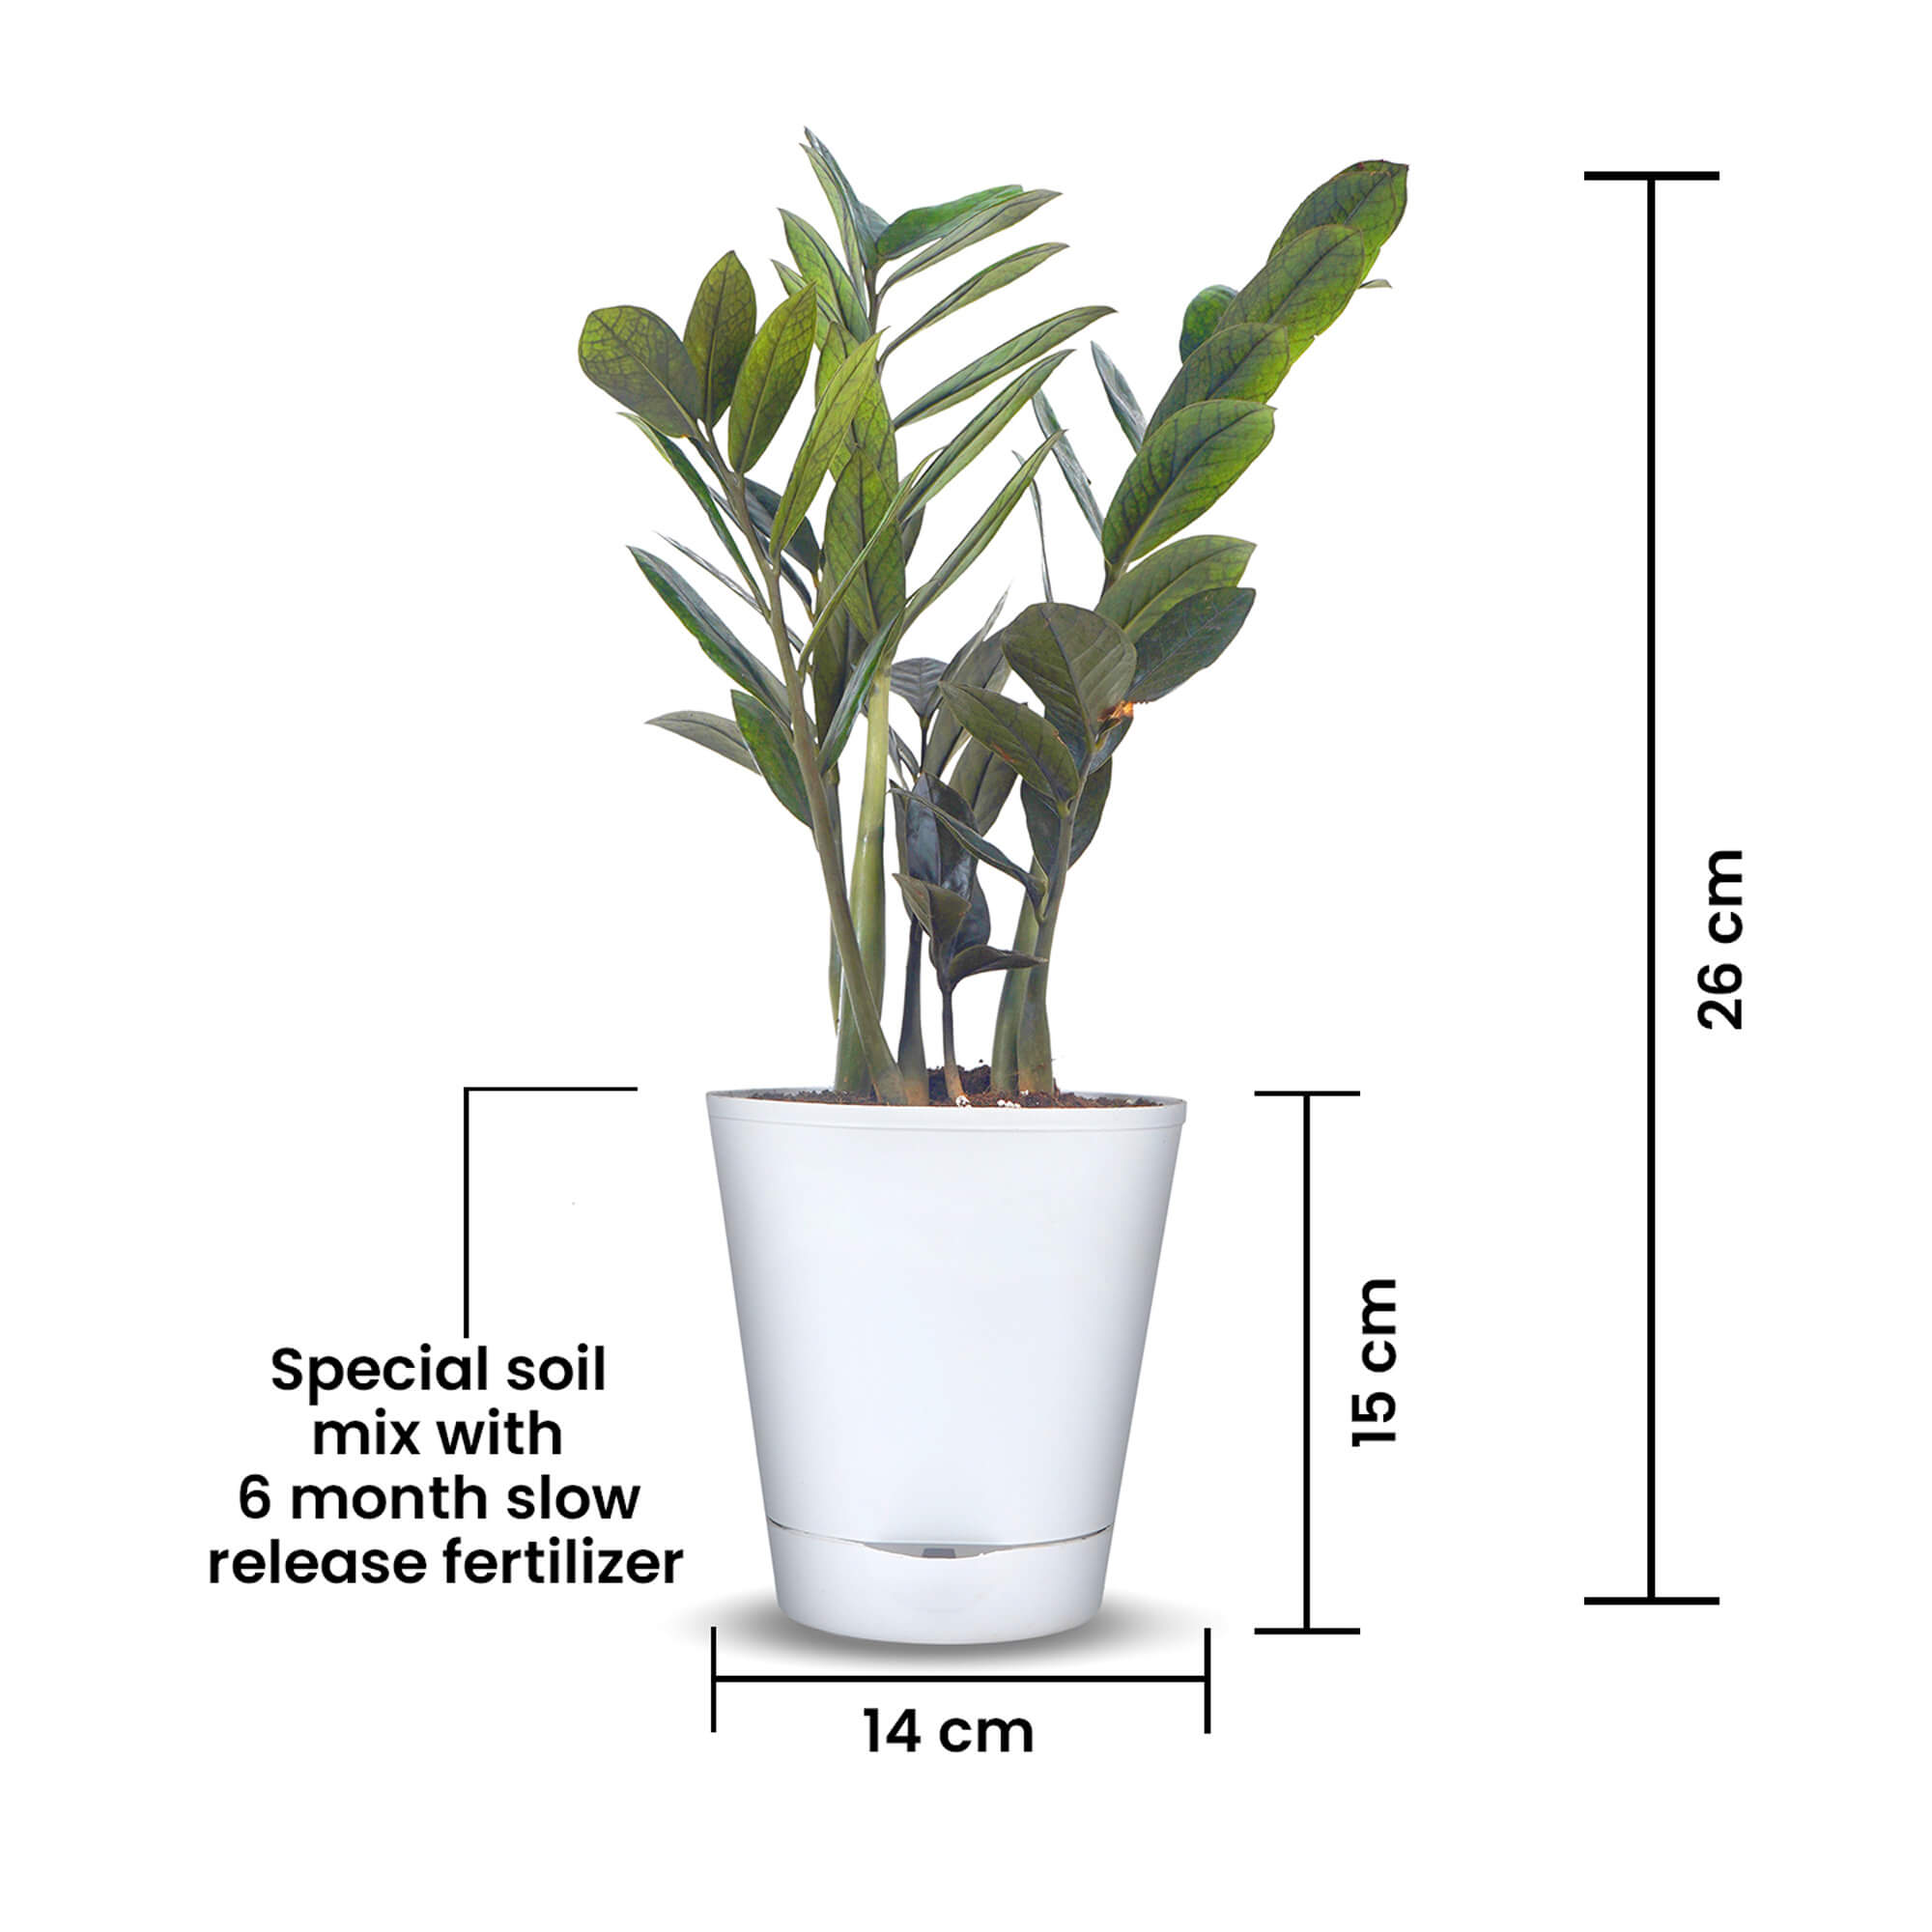
- Self-Watering Pot: Excess water gets stored in the reservoir below, the roots then absorb water via capillary action and the plants get water as and when required.It allows you to water less frequently making the plant easy to care for.
- Potting Mixture: It’s a mixture of appropriate amounts of soil, cocopeat & organic vermicompost. Provides best environment to the plant’s roots. It also contains slow-release Fertilizer which gives nutrients to the plants every time it is watered for 6 months.
- Packaging: Plant is secured in a good quality cardboard packaging. Inner Box holds the potted plant in place so that any movement during transit does not affect the plant. Outer box has slits which allow the plant to breathe freely during transit.




Reviews
There are no reviews yet.